
Views: 5 Author: Site Editor Publish Time: 2026-10-16 Origin: Site


Hook and loop tape reaches a product in one of three ways: with an adhesive backing, by heat sealing, or by sewing. Adhesive suits smooth, clean surfaces; heat sealing suits thermoplastic substrates and high-volume converting lines; sewing is the method that survives repeated washing, high peel loads and heavy use on woven and knitted textiles. This guide covers the practical sewing settings for hook and loop tape — thread, stitch length, edge distance and how to stop cut edges from fraying.
Sewing is usually the correct choice when:
the substrate is a woven or knitted textile, leather or a non-woven that cannot be heat sealed;
the finished item is washed, sterilised, or opened and closed hundreds of times (medical soft goods, wearables, garments, sports gear);
the tape must carry a high peel or shear load, or flex with the fabric;
there is no flat, smooth surface for a pressure-sensitive adhesive.
For smooth rigid surfaces, adhesive-backed hook and loop tape is faster to apply; for thermoplastic films and volume converting, heat-sealed hook and loop tape bonds without thread. Sew-on tape stays the most durable where the bond must outlast the wash cycle.
Polyester thread is the usual default for washable goods: it resists hydrolysis and shrinkage better than nylon in most garment uses.
Nylon (including bonded nylon) thread has higher tensile strength and elongation — useful for heavy tape and high peel loads.
Match the thread size to the tape weight. Heavier tape and higher loads need heavier thread; too fine a thread cuts into the weave.
On brushed loop fabric, a slightly heavier thread avoids sawing through the loops.
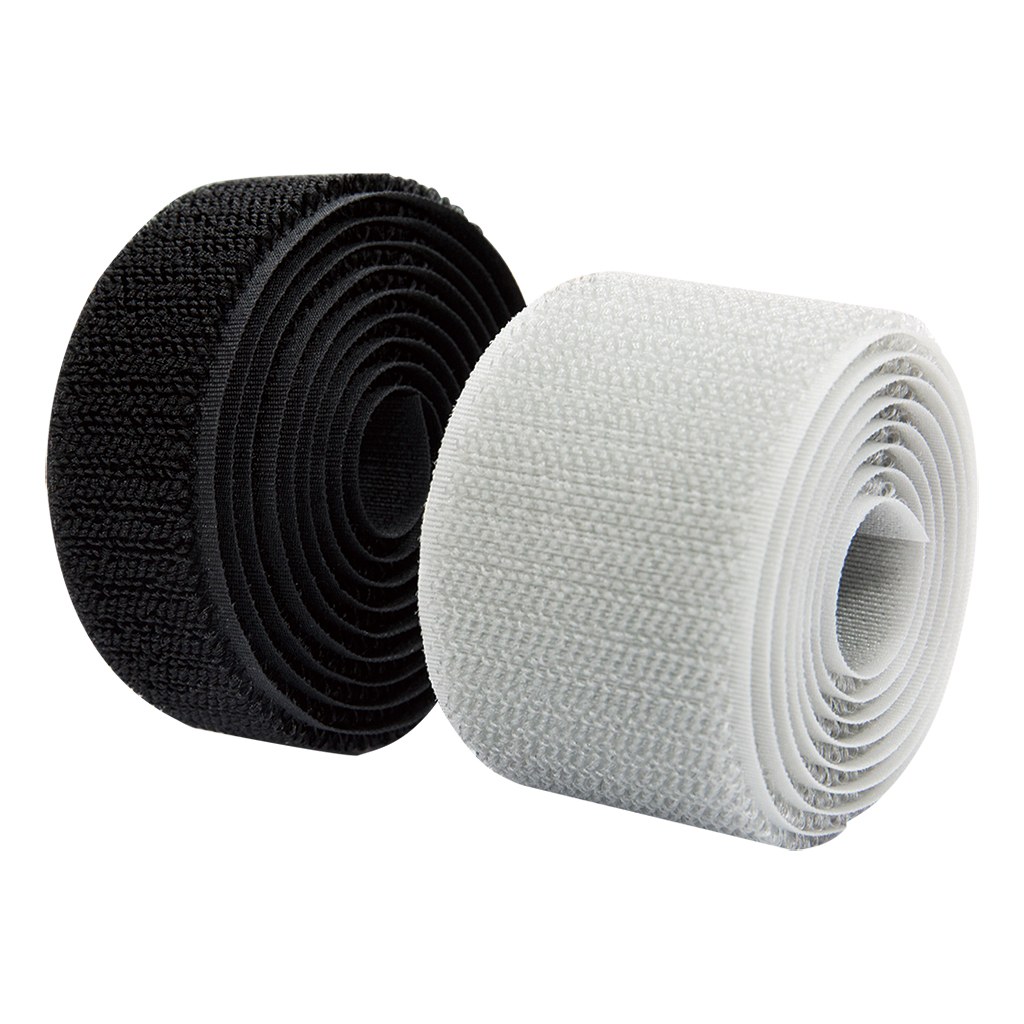
A lock stitch (double-thread) gives the strongest edge on hook and loop tape. Typical settings:
Stitch length about 2.5–3.5 mm (roughly 7–10 stitches per 25 mm).
Shorter stitches perforate the tape base and weaken it; longer stitches leave gaps and let the tape lift.
Always back-tack or bar-tack at both ends so the seam cannot run.
On elastic loop tape, reduce thread tension so the seam can stretch with the tape.
Use a ball-point needle for knitted substrates so the needle slips between yarns; a sharp needle for woven.
Keep the seam about 3–5 mm inside the tape edge so the edge does not curl, but stay clear of the hook field.
Sew along the hook-free margin or the backing — stitching straight through the hooks breaks them. If there is no margin, turn the hook side down and stitch the loop or backing side.
Cut hook and loop tape with a hot knife or ultrasonic cutter so the cut edge is sealed and does not shed fibre. Where a hot cut is not available:
fold a hem (turn the end under) and stitch it;
bind the edge with tape or fabric;
for wearables, always turn the ends under before stitching so no raw edge is exposed.
Needle breakage — the needle is hitting hooks. Move the seam off the hook field.
Puckering — reduce thread tension, use a finer needle, or support the tape with a strip of tissue.
Tape lifting at the edge — stitch too long or only one row. Add a second row or shorten the stitch.
Shrinkage after washing — pre-shrink the tape or specify a polyester blend that holds its length.
For general-purpose sewing, see our 100% nylon hook and loop tape; for a balance of strength and cost, see our nylon-polyester blend hook and loop tape. Related sewn parts include the hook loop cuff and the cuff fastening tab.
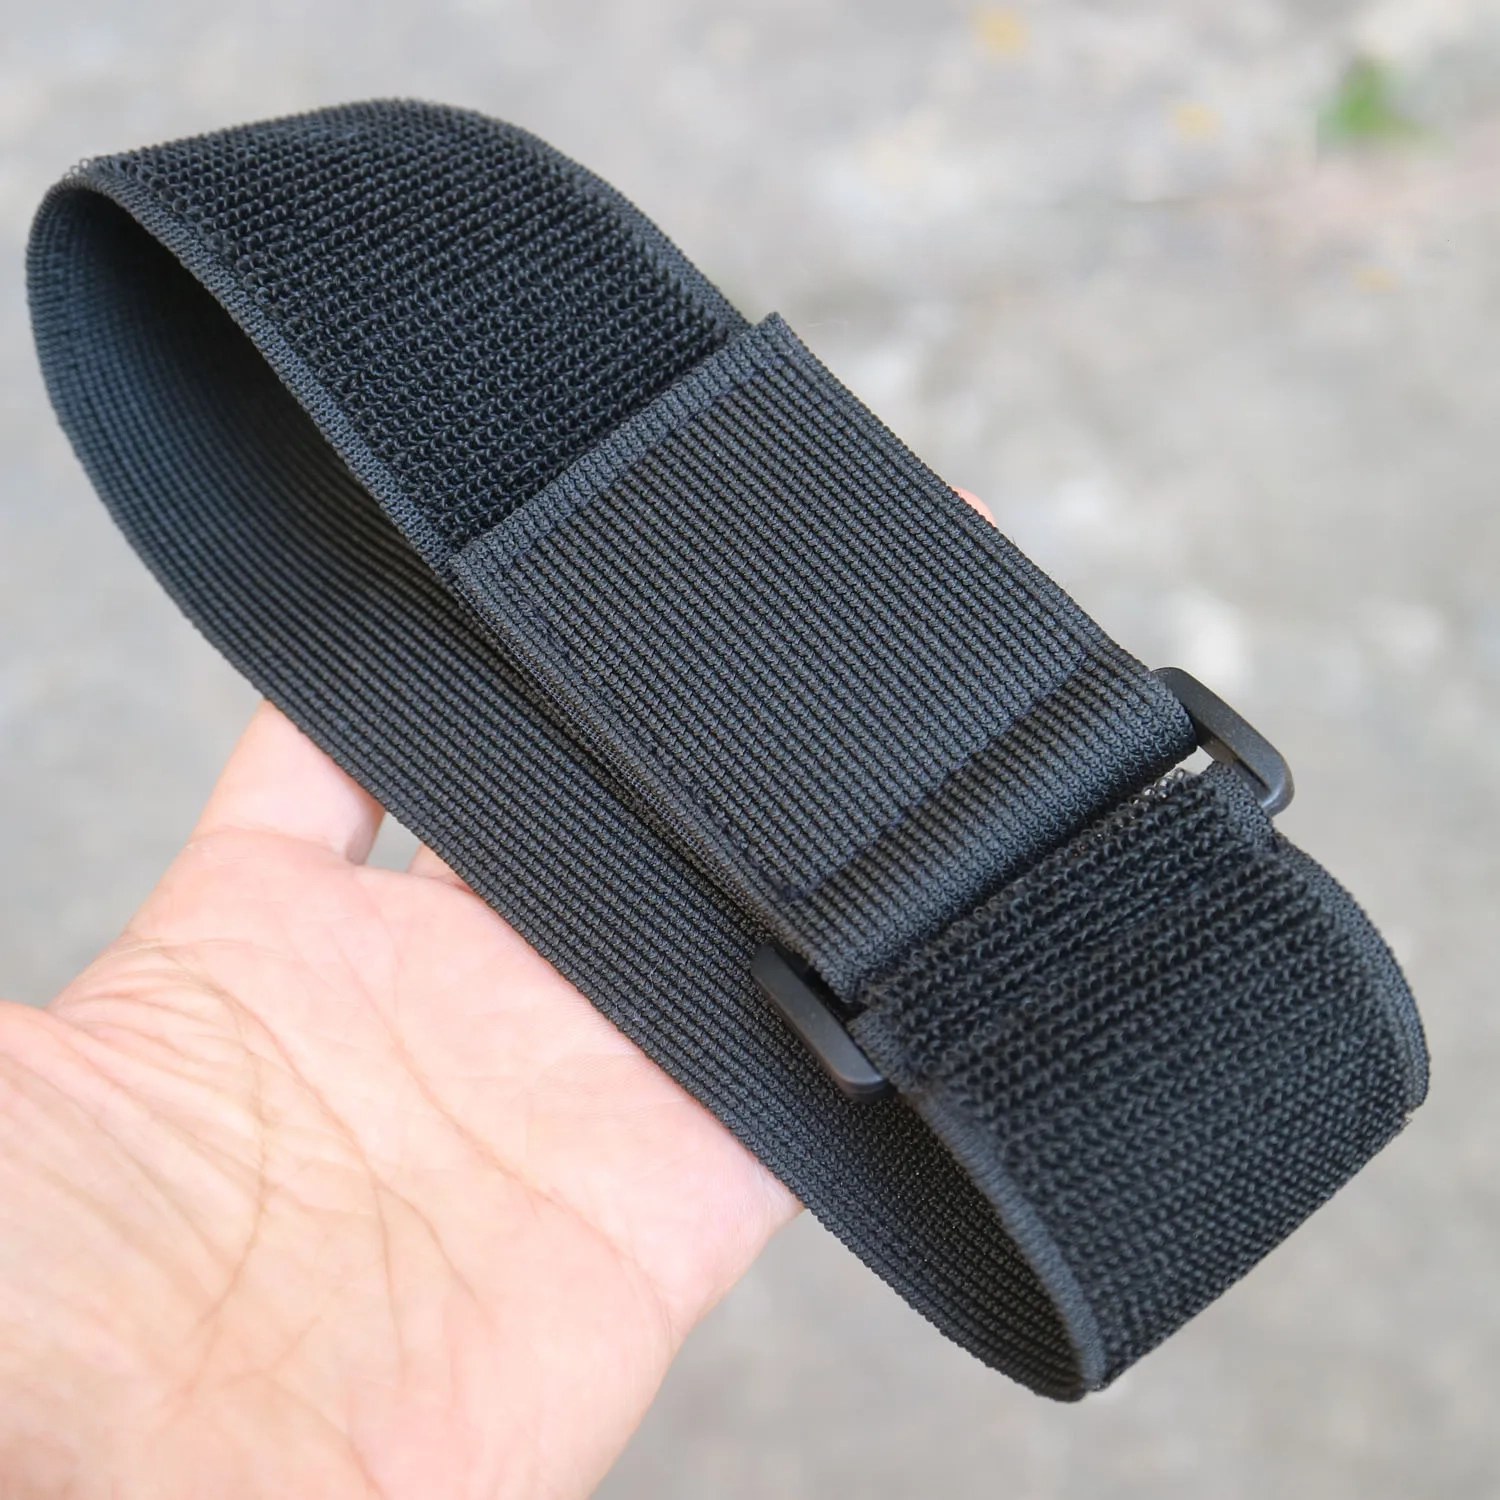
Tell us your substrate, wash cycle and peel load, and we will recommend the tape width, thread and stitch pattern. See the full sew-on hook and loop range.


