
Views: 1 Author: Site Editor Publish Time: 2026-10-24 Origin: Site


When a hook and loop closure fails on a moulded plastic part, the tape is rarely the problem. The joint between tape and plastic is. Three methods are used in practice, and each one has a different failure mode, a different tooling requirement and a different cost structure. Choosing by habit rather than by surface energy and melt temperature is how projects end up re-tooling.
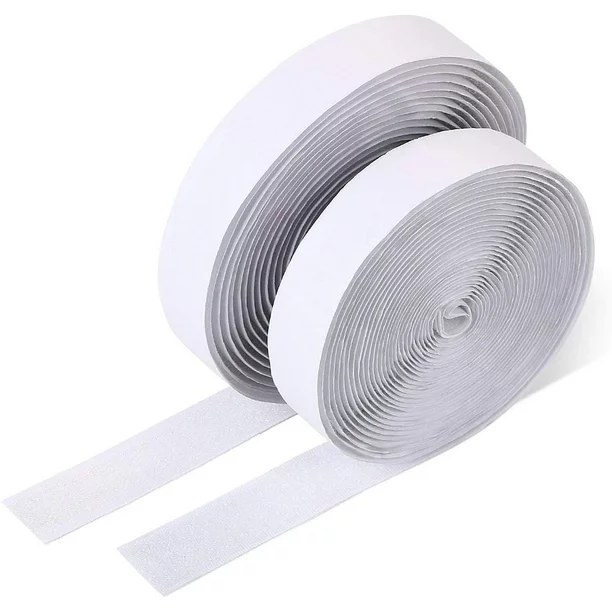
Pressure-sensitive adhesive is the fastest route and needs no tooling change, which is why it is the default. It is also the method that fails most often on engineering plastics.
Polypropylene and polyethylene have low surface energy, so standard acrylic adhesive wets out poorly and releases over time; a primer or a different adhesive chemistry is needed
Textured, glass-filled or release-agent-rich surfaces reduce effective contact area, so bond strength drops even when the adhesive is correct
The joint is only as strong as the adhesive at service temperature; warm enclosures and dashboard surfaces soften the bond earlier than room-temperature testing suggests
Design the tape so the load runs in shear rather than peel, and keep the bond line away from flexing walls
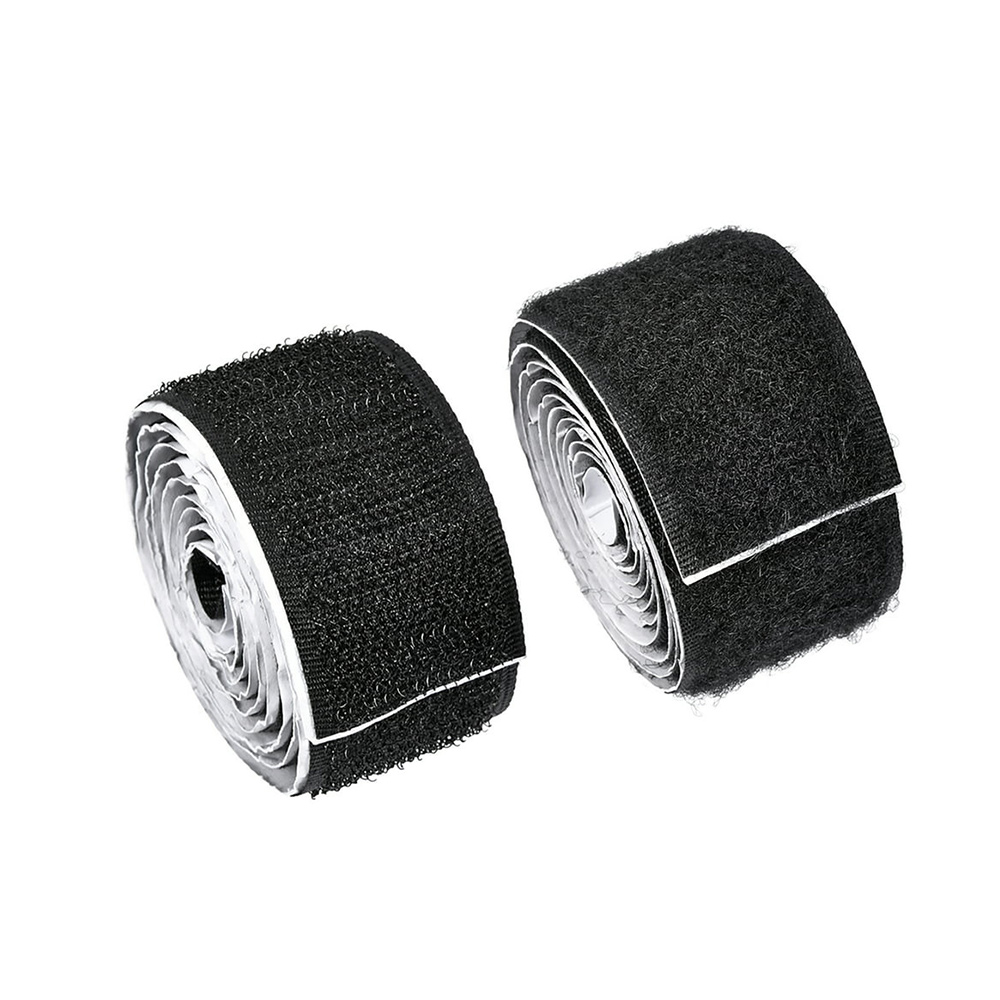
The tape is placed in the cavity and the melt forms around it. The result is mechanical capture with no adhesive, which survives heat and solvents far better, but the process window is narrow.
Melt flow can push the insert out of position; locating pins, a shallow recess or vacuum holding keep it where the drawing says it should be
Melt can flash into the hook face and fill the hooks with plastic, which is unrecoverable; a shut-off edge and a protective film over the functional face are the usual countermeasures
Fibre and film have to tolerate the melt temperature at the gate, not just the average cavity temperature
Hook orientation relative to flow direction changes how much of the face stays clean
Instead of bonding the tape to the part, a moulded feature captures its edge. This is the most robust option for parts that are opened constantly, because the load is carried by geometry rather than by adhesion.
Flash at the shut-off is the main defect: a small gap fills with plastic and stiffens the edge of the tape
Wall thickness and draft angle at the capture feature determine whether the tape can be assembled without distortion
Leaving a small clearance and relying on a secondary press operation is often more reliable than moulding to a zero gap
Method | Best for | Tooling | Typical failure |
|---|---|---|---|
Adhesive | Low volume, flat surfaces, ABS or PC | None | Release on low-energy plastics |
Insert moulding | High volume, heat or solvent exposure | New cavity, locating features | Melt displacing the insert, flash in the hooks |
Over-moulding | High-cycle closures, thick sections | Capture feature, tight shut-off | Flash stiffening the tape edge |
Most arguments at first article come from a drawing that specifies the tape but not the joint.
Keep-out zone for the functional face, so nobody adds a rib or a gate mark on top of the hooks
Tape position tolerance and the direction the hook face must point
Surface finish and any mould release agent used, since both affect adhesive performance
Whether the joint must survive washing, disinfection or a specified temperature, and for how many cycles
You do not need a full validation programme to find out whether a method will work. Three steps are usually enough:
Bond or mould a small plaque in the actual resin, with the actual surface finish, and pull it by hand after 24 hours
Repeat after a heat soak at the service temperature, since most adhesive failures only appear warm
Open and close the closure fifty times and look at the hook face for plastic flash or fibre damage
We supply the tape, but the useful conversation starts one step earlier: which resin, which process, which surface. Whether the project needs adhesive-backed tape, a moulded hook that tolerates melt contact, or a heat-activated film for a textile insert, the answer follows from the joint design. Send the part drawing and the process and we will tell you which of the three methods fits before you cut a tool.


